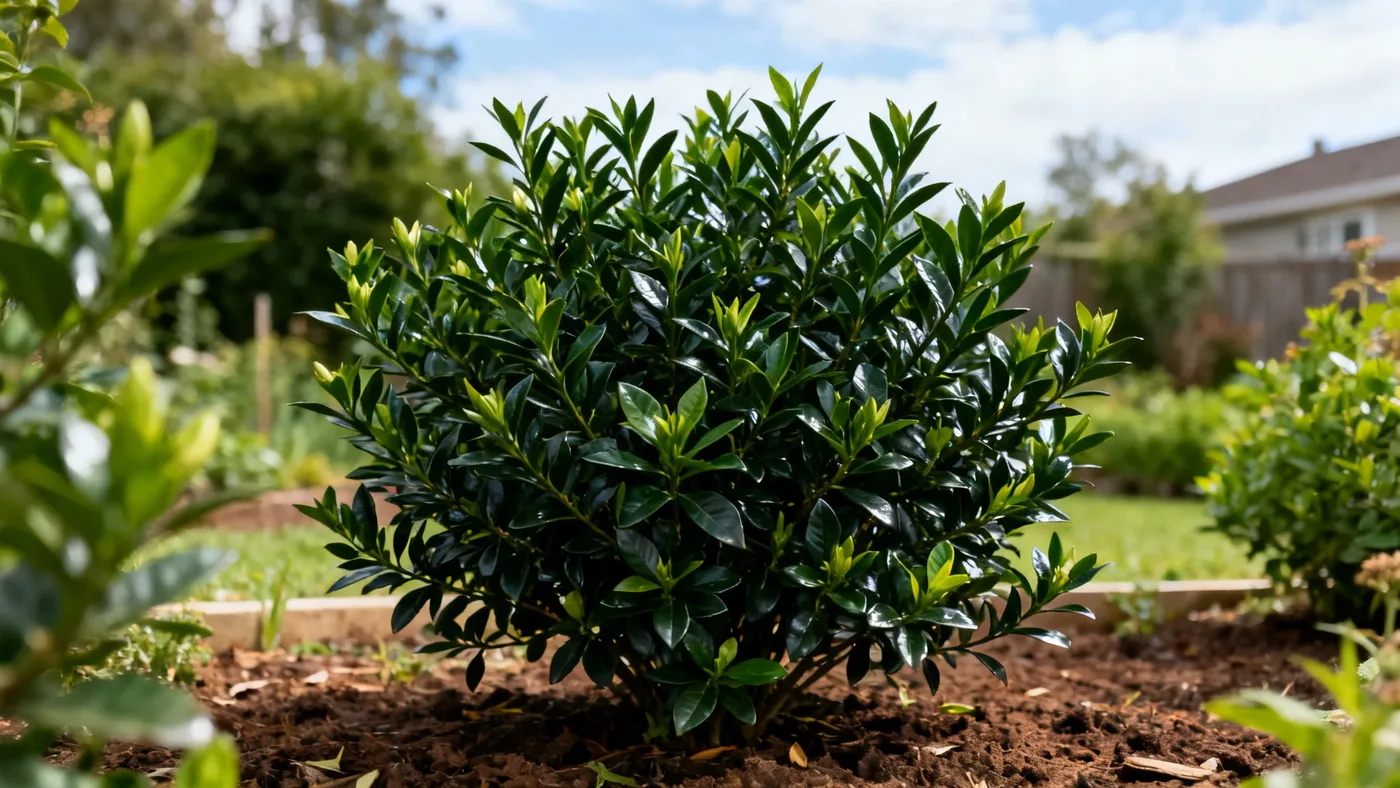
Pruning Kleim's Hardy Gardenia: Timing and Technique
Pruning Kleim's Hardy Gardenia is straightforward once you understand one critical rule: timing determines whether you'll have blooms next year. This evergreen shrub sets its flower buds on new growth during the season following pruning, so cutting at the wrong time means sacrificing the very flowers you want to encourage. The good news is that Kleim's Hardy Gardenia doesn't require heavy pruning. Light, strategic cuts after flowering keep the plant compact, dense, and loaded with fragrant white blooms year after year.
Why Prune Kleim's Hardy Gardenia
Regular pruning serves several purposes. It removes dead or damaged wood, encourages a more compact and fuller shape, and prevents the plant from becoming leggy or overgrown. Kleim's Hardy Gardenia grows at a moderate pace (roughly 6 to 12 inches of new growth per year), naturally reaching 2 to 3 feet tall and 3 to 4 feet wide, so it stays relatively manageable. Light pruning maintains this tidy mounding form and promotes dense branching, which translates to more flowering points and better overall appearance in your garden or landscape.
The Critical Timing Window: When to Prune
Pruning Kleim's Hardy Gardenia at the right time is the single most important factor for next year's blooms. Prune lightly right after flowering finishes, roughly late May through early June, when the last flowers fade. This timing works because the plant's next year's flower buds set on the new growth that emerges after you cut. Pruning at this narrow window gives those developing shoots all summer and fall to mature and form dormant buds, which then open in late spring to early summer of the following year.
Avoid pruning in late summer or fall. Any cuts you make after July risk removing developing flower buds before they've had time to set properly, leaving you with a leafy plant but few or no blooms come spring. If you accidentally prune your gardenia in late summer, don't worry; the plant will recover and grow normally. Simply expect a lighter bloom crop the following season, and return to the correct pruning schedule.
Winter pruning should be avoided as well. Cold temperatures and the plant's natural dormancy make it more susceptible to damage, and winter wounds heal slower than cuts made during the active growing season. If storm damage or cold damage occurs and branches die back, wait until late spring after flowering to clean them up.
Tools and Materials You'll Need
Gather these items before you begin pruning:
- Hand pruners (bypass pruners): A sharp pair of bypass pruners is your main tool. They're ideal for cutting branches up to roughly half an inch in diameter. Keep the blades clean and sharp; dull blades crush stems rather than cut cleanly, which invites disease.
- Pruning saw: If you have older, thicker branches that exceed half an inch in diameter, a small pruning saw makes quick work of them. A folding pruning saw fits easily into a pocket or garden bag.
- Loppers: Long-handled loppers give you reach and leverage for branches near the center of the plant without having to bend or contort your body.
- Rubbing alcohol or 10% bleach solution: Use a cloth to wipe down your tool blades before and between cuts. This simple step prevents spreading disease from any diseased wood to healthy growth.
- Gloves: Gardening gloves protect your hands from scratches and make handling cut branches easier.
- Trash bag or tarp: Gather pruned branches as you go to avoid scattering debris across your garden bed.
Step-by-Step Pruning Instructions
Step 1: Assess the plant and plan your cuts.
Before making your first cut, walk around the plant and observe its shape. Look for any dead wood (gray, brittle branches), crossing branches that rub against each other, or shoots growing inward toward the center. Identify the general outline you want to maintain. Kleim's Hardy Gardenia naturally adopts a mounding shape, so work with that form rather than forcing an unnatural silhouette.
Step 2: Remove dead or diseased branches.
Start by pruning out any branches that are clearly dead or showing signs of disease (such as discolored bark, cankers, or thin, brittle wood). Cut these all the way back to living wood or to the base of the plant if the entire branch is compromised. Make your cut at a slight 45-degree angle, just above a leaf node or bud, if possible. This angle sheds water away from the cut surface and promotes faster healing.
Step 3: Thin out crossing or crowded branches.
Look for branches that cross over one another or grow so densely that they shade interior growth. Remove one of the crossing branches entirely, cutting it back to its point of origin at a larger branch or the base. Thinning opens up the interior of the plant to light and air, which improves flowering and reduces the risk of fungal issues.
Step 4: Shorten long or leggy stems.
If your plant has become tall or lanky (perhaps from shade or neglect), selectively cut back some of the longest stems to a lower, outward-facing leaf node or bud. Cut at a 45-degree angle roughly one-quarter inch above the bud. New shoots will emerge from that point, creating a fuller, more compact form. Do not remove more than one-third of the plant's total foliage in a single pruning; removing more stresses the plant and can reduce flowering.
Step 5: Step back and evaluate.
After each major cut, step back a few feet and look at the overall shape. Pruning is gradual; you can always make another cut, but you cannot undo one. If the plant looks balanced and open, you're done. If it still feels too dense or uneven, make a few more selective cuts.
Step 6: Clean up and dispose of pruned branches.
Collect all pruned material and dispose of it appropriately. Healthy prunings can go to yard waste or compost. If you removed diseased wood, place it in a sealed bag destined for the trash to prevent spreading the problem.
Pruning Tips and Common Mistakes
Tip: Make clean cuts only. Ragged cuts invite disease and heal poorly. If your pruners are dull, sharpen them or replace them before you prune. A clean cut is the best wound dressing a plant can receive.
Tip: Sterilize between cuts if you suspect disease. If you're removing diseased wood, wipe your tool blades with rubbing alcohol or a 10% bleach solution between cuts to avoid spreading the pathogen to healthy branches.
Tip: Prune on a dry day. Wet foliage and wet wounds promote fungal infections. Wait for a dry morning or afternoon to prune.
Common mistake: Shearing the plant into a ball or cube. Avoid using hedge shears to heavily shear your gardenia into an artificial shape. This practice removes many flowering stems at once and looks unnatural. Instead, hand-prune selectively to maintain a graceful, mounding form.
Common mistake: Pruning too late in the season. This is the biggest mistake gardeners make with Kleim's Hardy Gardenia. Pruning after July removes or damages the developing flower buds, resulting in few or no blooms the following spring. If you miss the May-June window, skip pruning that year and wait until the following late spring.
Common mistake: Removing too much growth at once. Aggressive pruning stresses the plant and can reduce the next season's flowering. Light pruning, removing no more than one-third of the plant's foliage in a single session, keeps the plant healthy and productive.
Expected Results After Pruning
After you prune Kleim's Hardy Gardenia in late spring or early summer, the plant will respond quickly. Within a few weeks, new shoots emerge from the cut points and from along the stems. This new growth is vigorous and leafy, and by mid-to-late summer, flower buds form on these shoots. By the following late spring or early summer, those buds open into the fragrant white flowers Kleim's Hardy Gardenia is prized for.
If you prune lightly and consistently each year, your plant will develop a dense, full, mounding form that flowers reliably. If you've neglected pruning for several years and the plant has become overgrown or leggy, be patient. Gradual rejuvenation over two or three growing seasons, with light pruning each late spring, will restore a more attractive form. Avoid the temptation to cut the plant back hard all at once, as this shock may temporarily reduce flowering and set back the plant's recovery.
Special Considerations by Hardiness Zone
Kleim's Hardy Gardenia grows in USDA zones 7 to 9, marketed as one of the more cold-hardy gardenia cultivars. In zones 7 and the colder parts of zone 8, winter cold may cause some dieback of tender new growth in a hard winter. If this occurs, prune out the damaged wood in late spring after the last frost, once you can see which branches are truly dead. This damage rarely affects the entire plant, so the regrowth is usually vigorous.
In warmer zones (zone 9 and the milder parts of zone 8), the plant is more reliably evergreen and hardy, and pruning follows the standard late-spring schedule with fewer surprises from winter damage.
Quick Reference: Pruning Checklist
| Task | Timing | Key Details |
|---|---|---|
| Prune after flowering | Late May through early June | Flower buds form on new summer growth; late pruning removes next year's blooms |
| Remove dead or diseased wood | Any time, but ideally during main pruning window | Cut to living wood or base; disinfect tools between cuts |
| Thin crowded branches | Late spring, after flowering | Improves air flow and light penetration; enhances flowering |
| Shorten leggy stems | Late spring, after flowering | Cut at 45-degree angle above a bud; remove no more than 1/3 of foliage |
| Avoid pruning | Late summer, fall, winter | Removes or damages developing flower buds; expect reduced spring blooms |
| Rejuvenate overgrown plant | Gradual over 2-3 years, starting late spring | Light annual pruning restores form; avoid heavy one-time cuts |
For more detailed care information, including watering, soil, sunlight, and fertilizing guidelines, visit our Kleim's Hardy Gardenia care guide.